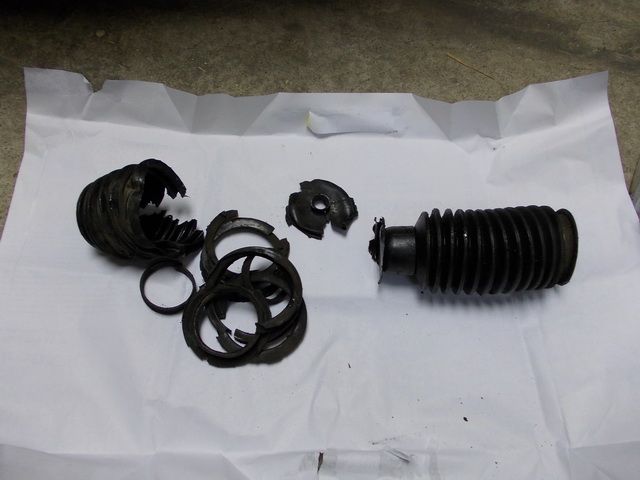
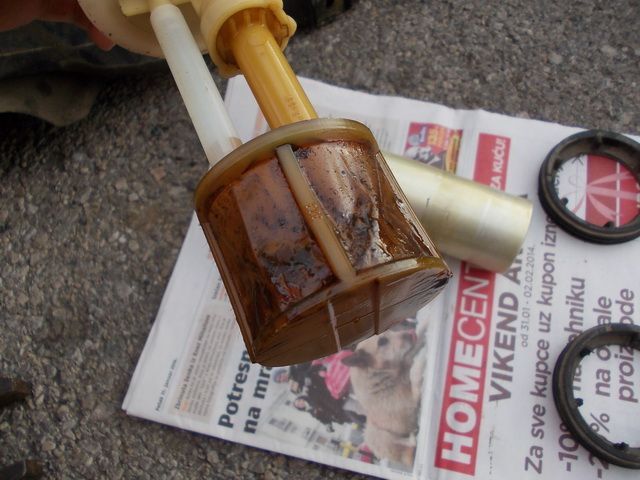
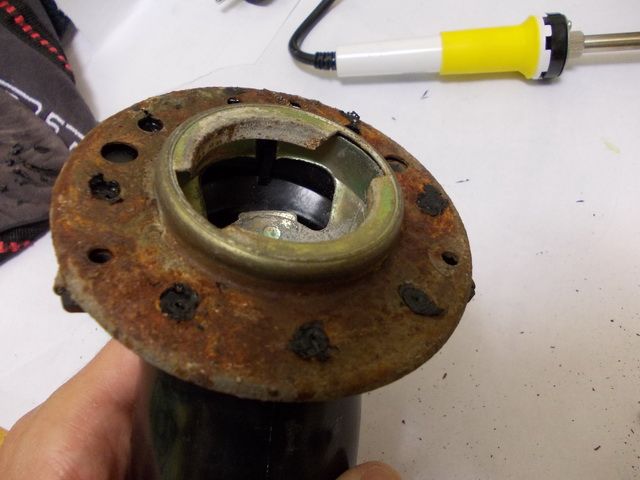
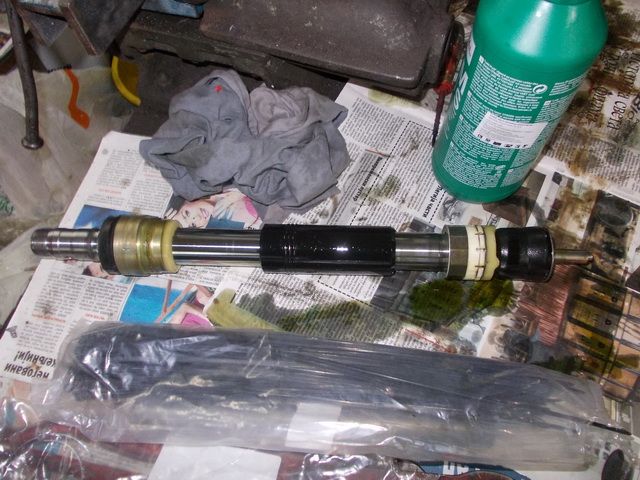
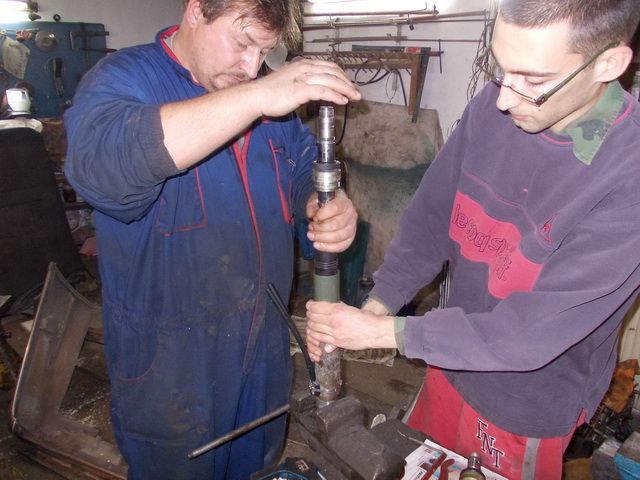
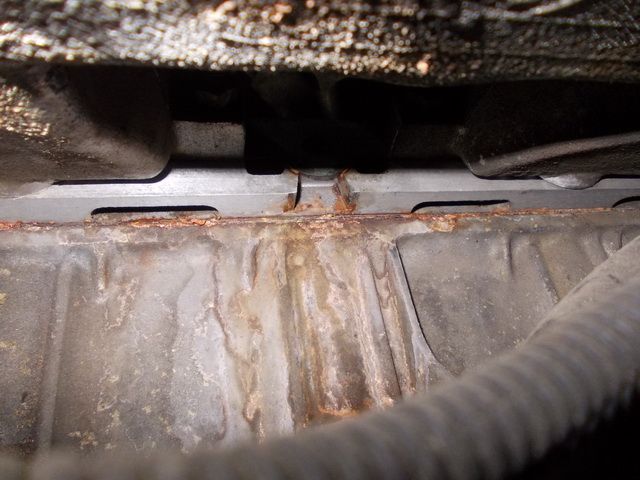
Everything was cleaned well - you can't imagine what comes out of these cylinders after 20+ years of use. So change your return hoses regularly!
____________________________
Tout était bien nettoyée - vous ne pouvez pas imaginer ce qui sort de ces cylindres après 20 ans d'utilisation. Donc changer vos tuyaux de retour régulièrement!
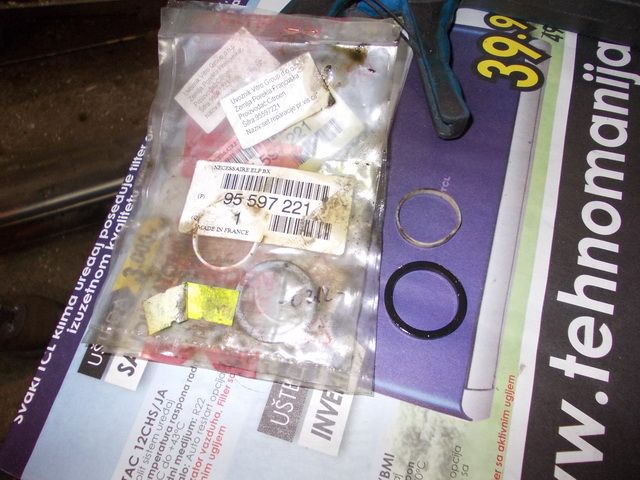
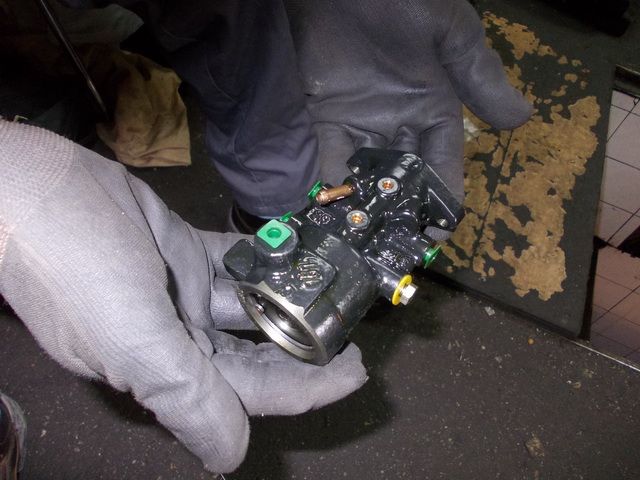
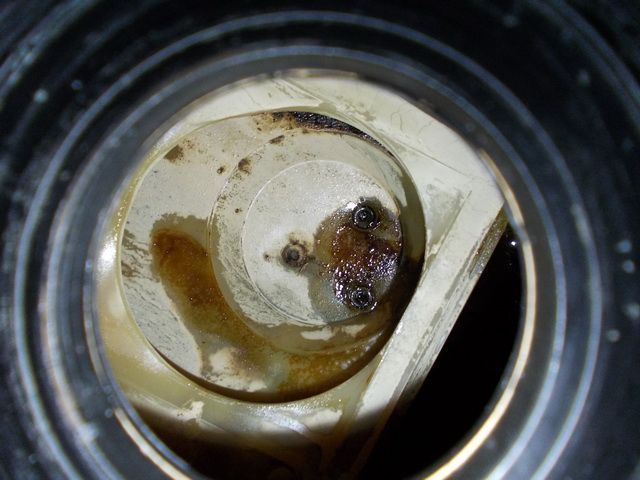
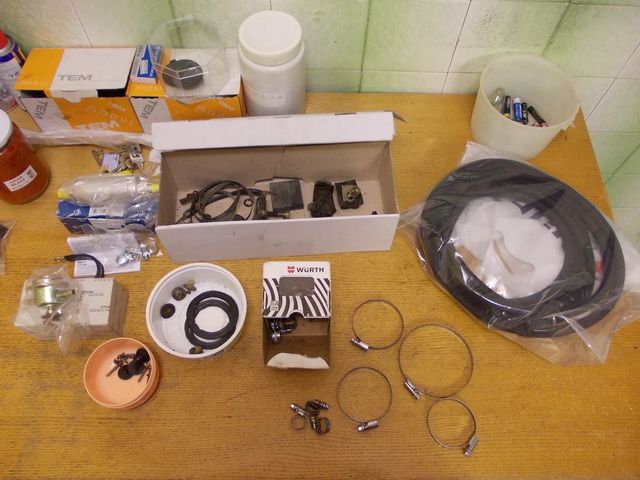
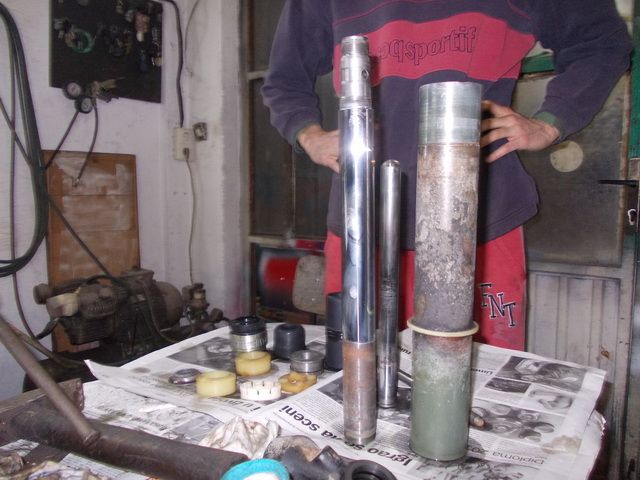
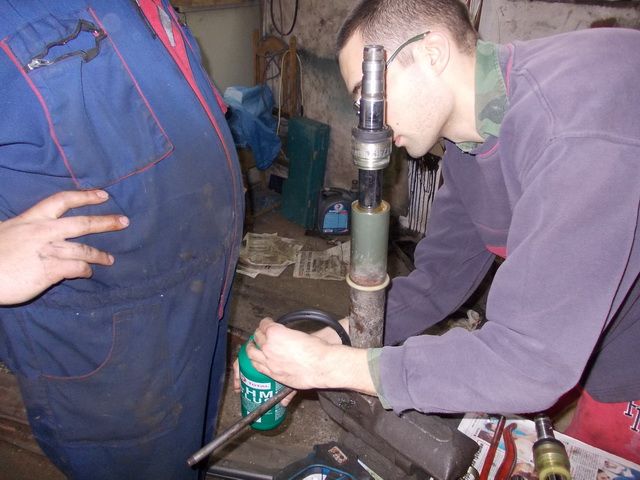
And here is the repair kit - just one rubber O-ring and a teflon ring. These kits are NFP, but while we worked we discussed various solutions, even making a set or repair kits on our own (one guy did this few months ago on his BX break, and he is satisfied with the result by now).
____________________________
Et ici, ce est le kit de réparation - juste un joint torique en caoutchouc et un anneau de téflon. Ces kits sont NFP, mais pendant que nous travaillions, nous avons discuté diverses solutions, faisant même un brelan ou kits de réparation sur notre propre (un gars ont fait il ya quelques mois sur ce sa pause BX, et il est satisfait du résultat pour l'instant).
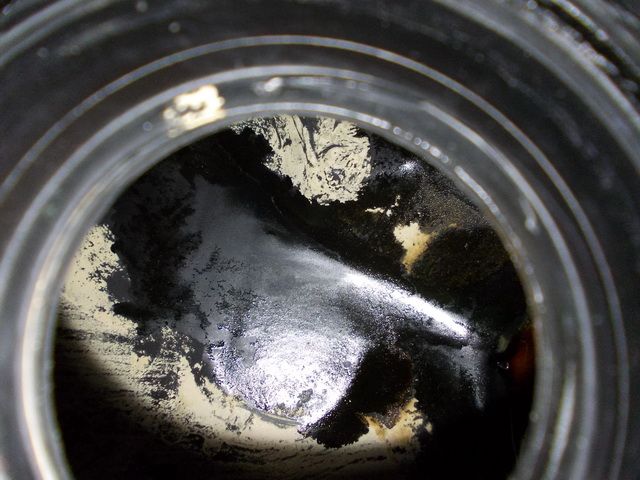
And here is the repair kit - just one rubber O-ring and a teflon rinOne thing I forgot to mention - if front struts start squeaking and stucking, it is probably too late for reconditioning since the "test tube" is already damaged. So this procedure is a good choice for struts that have a lot of oil in return hoses but didn't get to stucking jet.
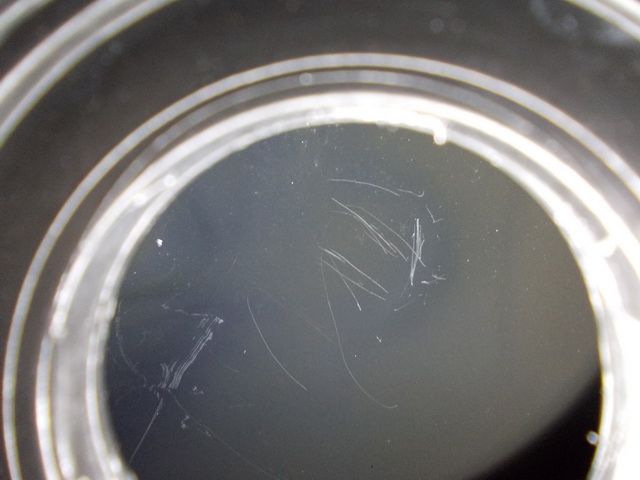
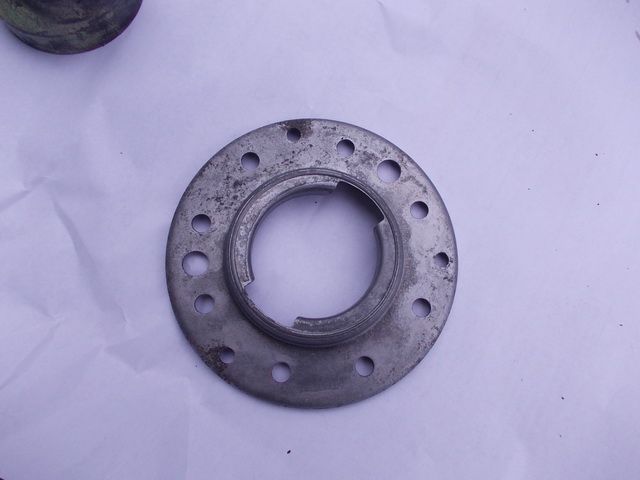
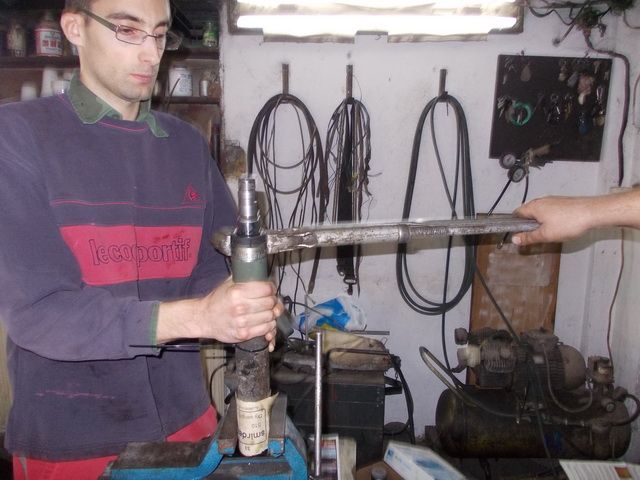
Difference between old and new teflon ring can be seen with bare eye - teflon ring removed form the strut is much thinner then new one:g. These kits are NFP, but while we worked we discussed various solutions, even making a set or repair kits on our own (one guy did this few months ago on his BX break, and he is satisfied with the result by now).
____________________________
Et voici le kit de réparation - juste un joint torique en caoutchouc et une chose téflon rinOne ai oublié de mentionner - si entretoises avant commencent à grincer et stucking, il est probablement trop tard pour la remise en état depuis le "tube à essai" est déjà endommagé. Donc, cette procédure est un bon choix pour entretoises qui ont beaucoup d'huile dans les tuyaux de retour, mais ne ont pas eu à stucking jet.
Différence entre la bague en téflon ancienne et la nouvelle peut être vu à l'oeil nu - anneau de téflon forme enlevé le mât est beaucoup plus mince alors nouveau: g. Ces kits sont NFP, mais pendant que nous travaillions, nous avons discuté diverses solutions, faisant même un brelan ou kits de réparation sur notre propre (un gars ont fait il ya quelques mois sur ce sa pause BX, et il est satisfait du résultat pour l'instant).
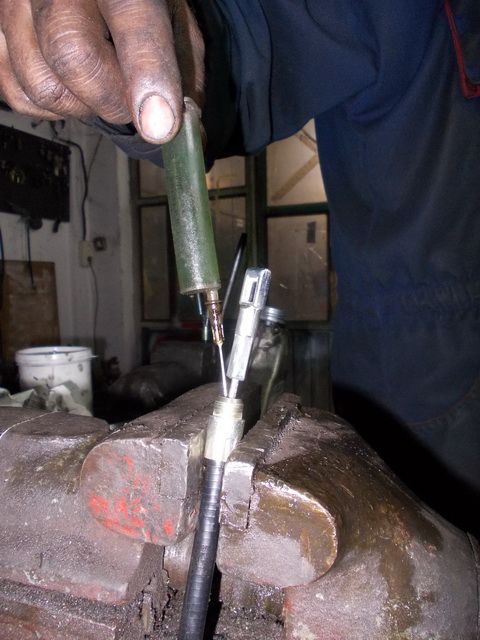
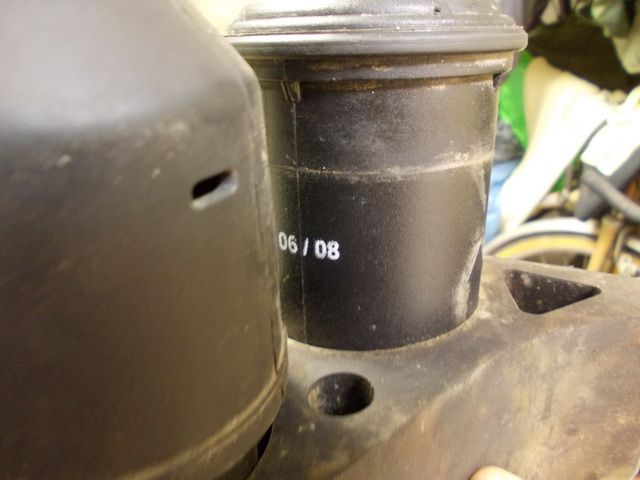
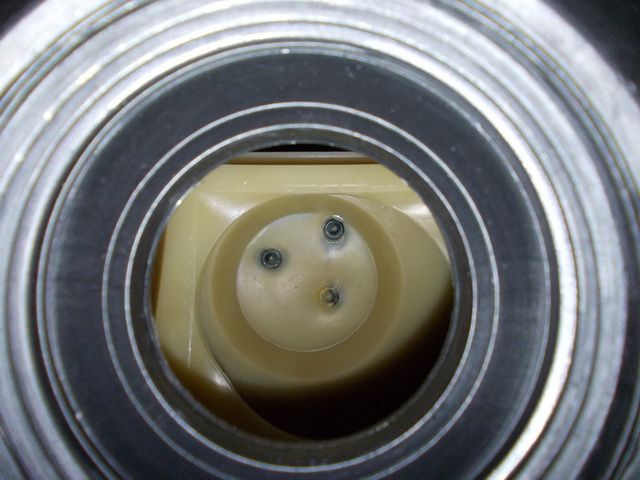
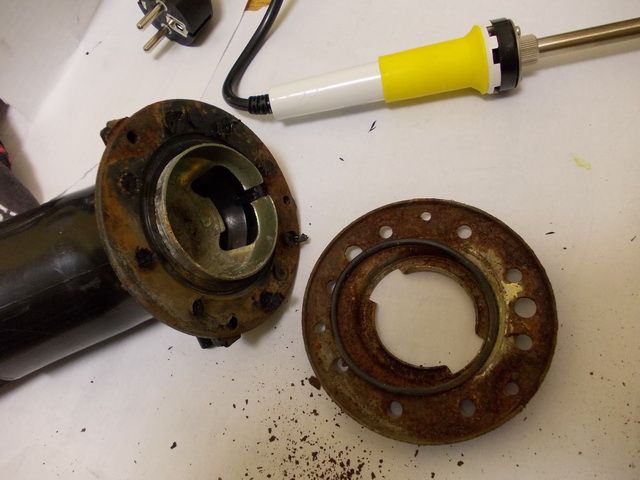
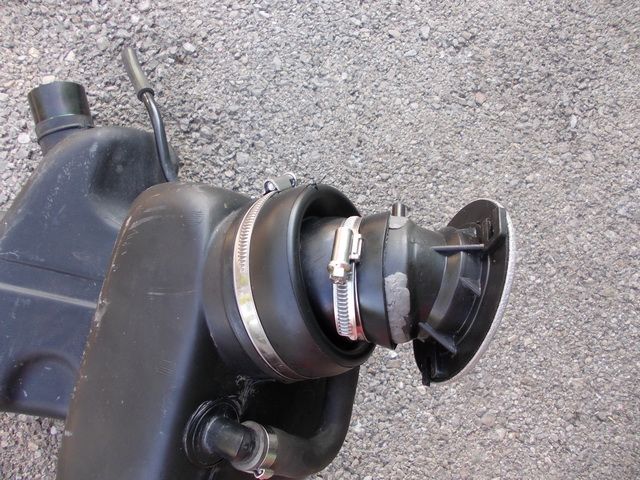
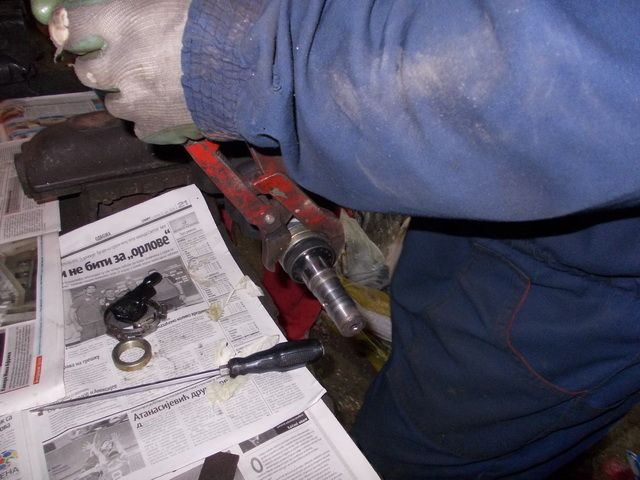
Unfortunately, I didn't take the picture of teflon ring position. In order to get to it, you have to unscrew big screw on the bottom of the piston you removed from strut when you unscrewed the top (picture 1); after removing the screw and plastic rings above it, the "test tube" can be pulled out (beware - there is a metal pole inside the "test tube", you remove it before the "test tube" is removed).
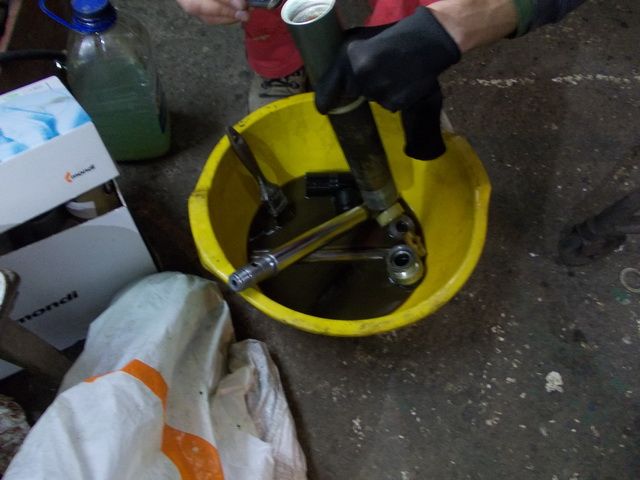
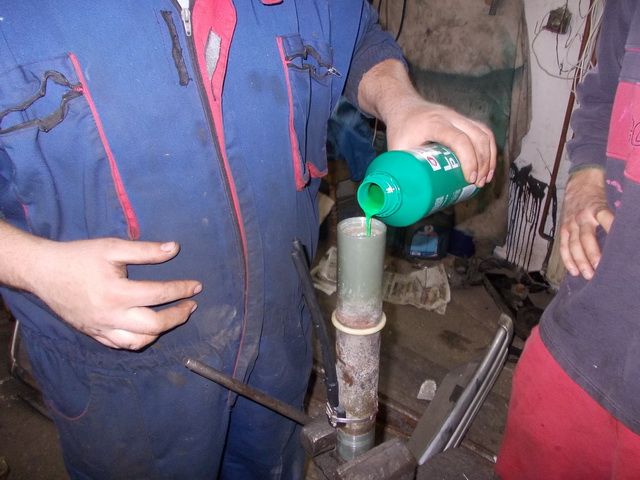
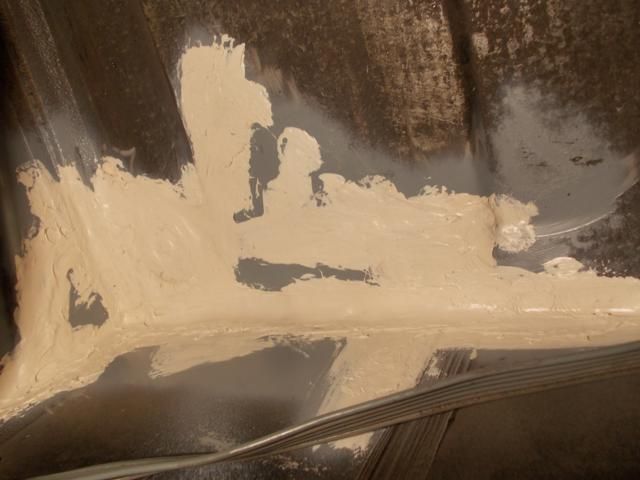
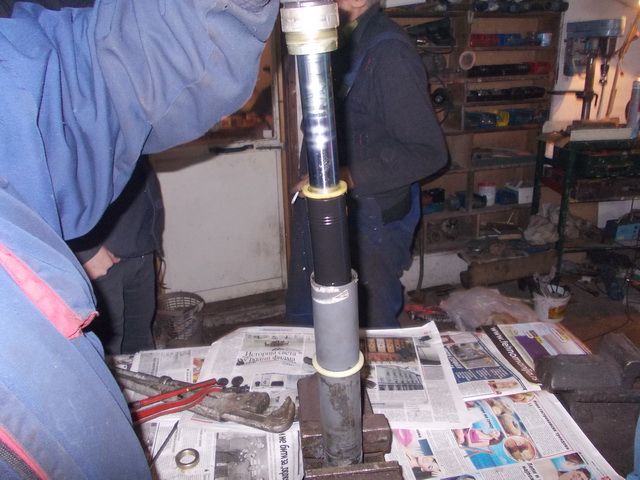
When teflon ring is changed, strut body is filled with LHM before assembling:
____________________________
Malheureusement, je ne ai pas pris l'image de position de la bague en téflon. Afin d'y accéder, vous devez dévisser grosse vis sur le fond du piston vous avez retiré de jambe lorsque vous dévissé le haut (photo 1); après avoir retiré les vis et en plastique anneaux au-dessus, le "tube à essai" peut être retiré (attention - il ya un poteau de métal à l'intérieur du "tube à essai", vous le retirez avant le "tube à essai» est supprimé).
Lorsque anneau de téflon est modifié, le corps amortisseur est rempli de LHM avant d'assembler:

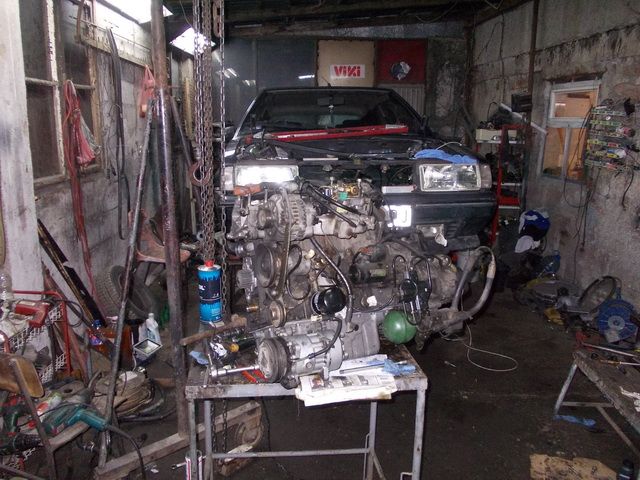
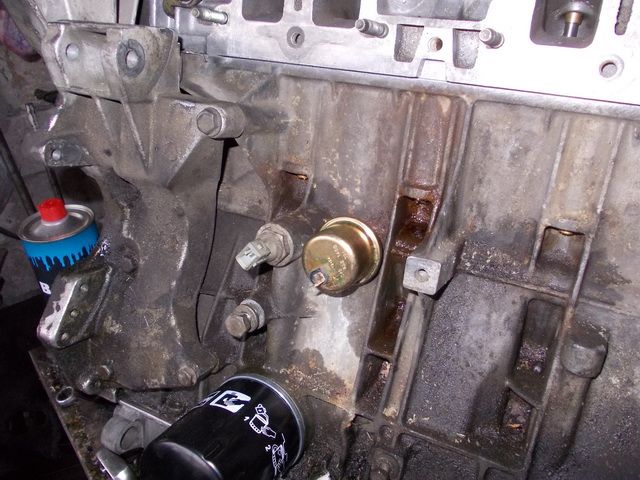
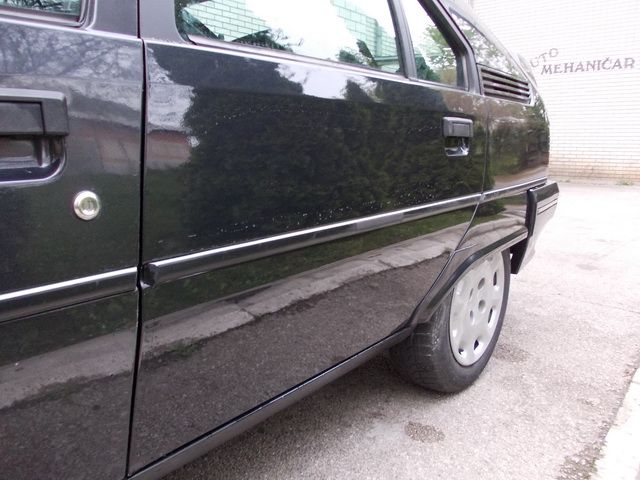
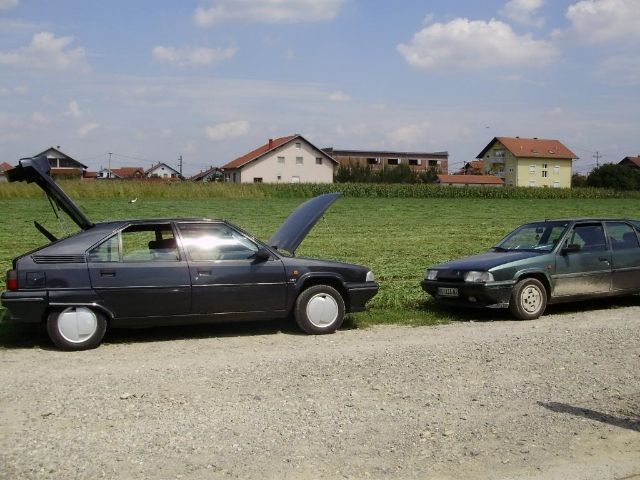
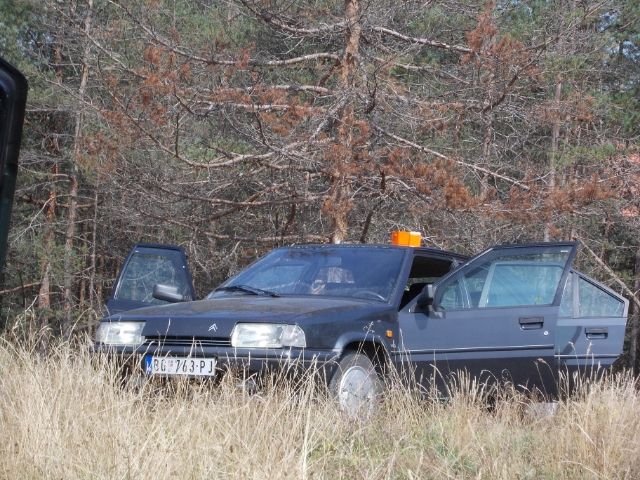
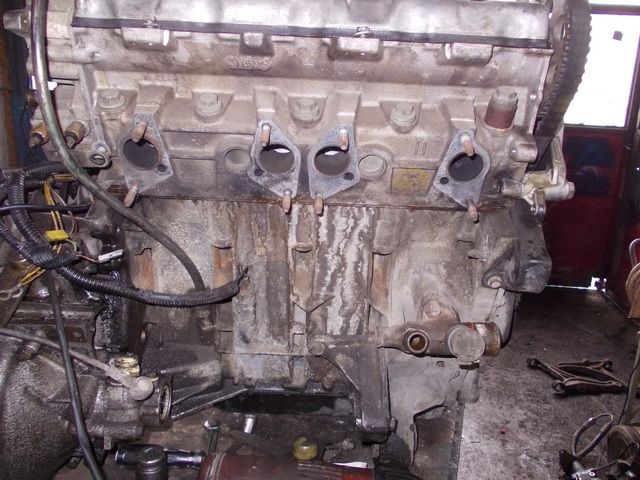
 , which was the owner at the same time. Bodywork is in great shape, as well as interior, engine runs pretty good but a lot of things was already ready for changing when I got it in November 2013. Here are some pictures.
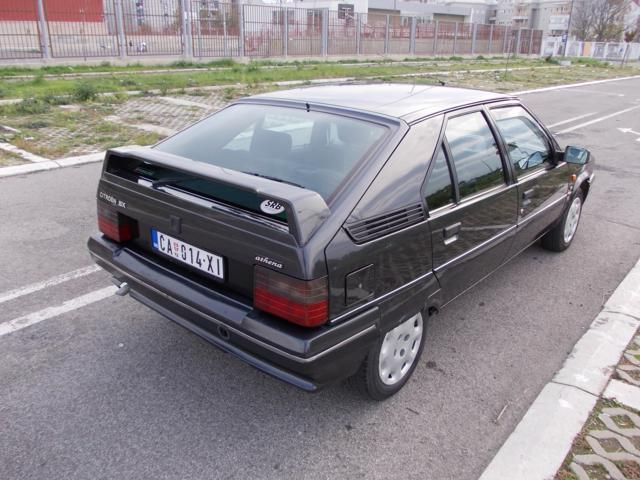
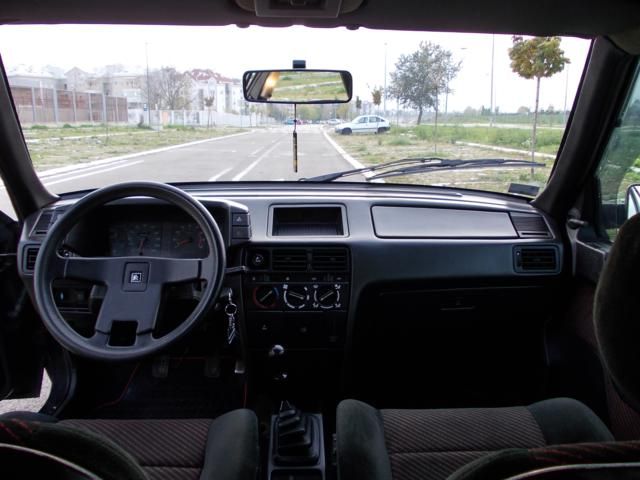
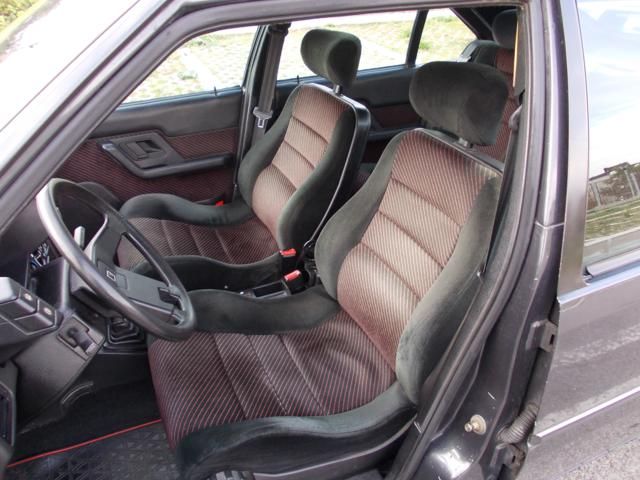

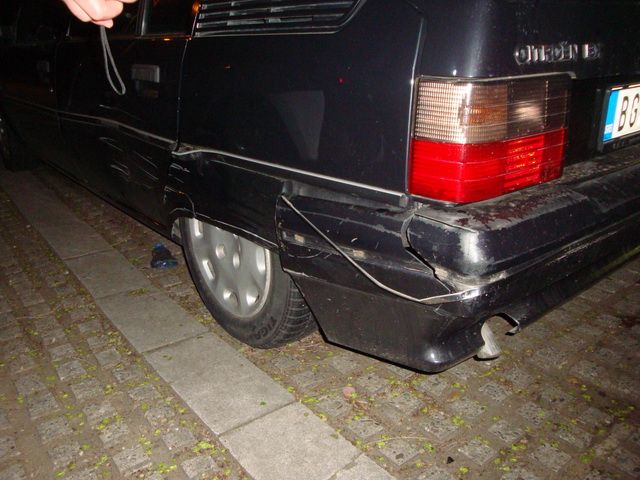
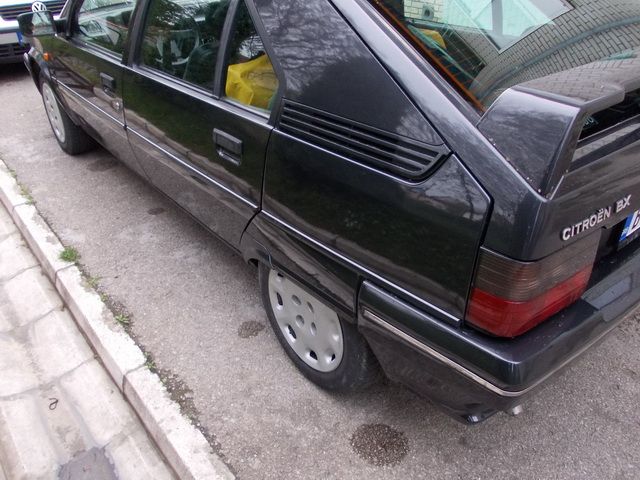
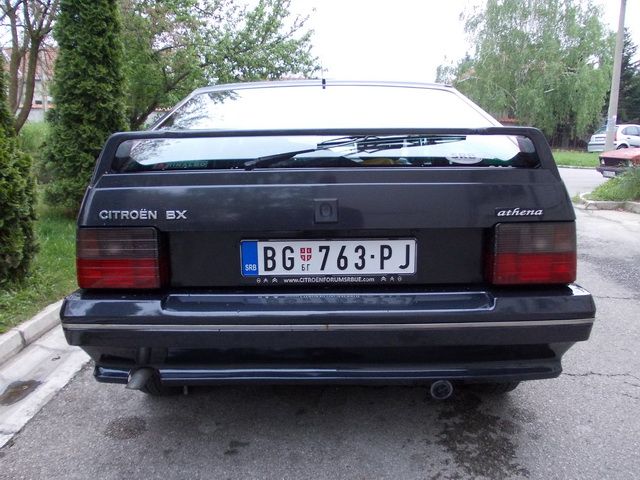
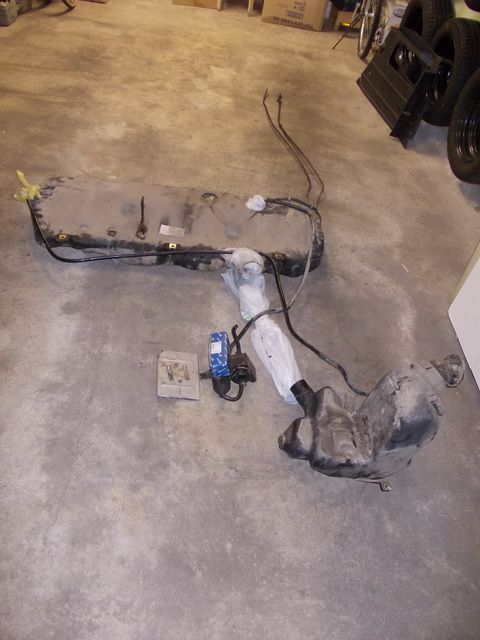


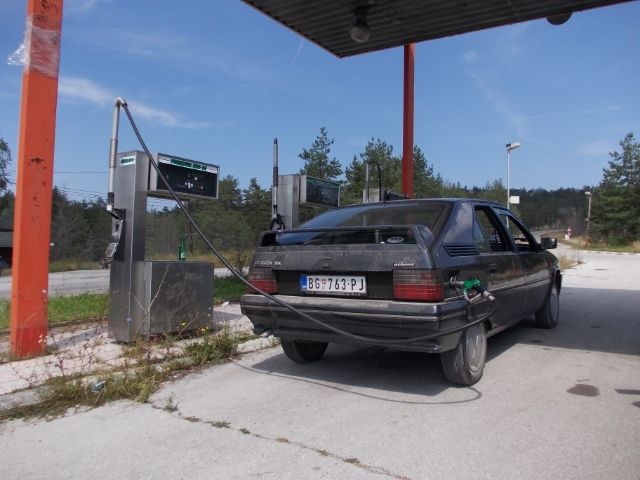
 ), it took me few months to complete restoration of fuel system - meanwhile car used LPG. There are still problems with monopoint, but I hope they'll be solved soon! Anyway, from November 2013 to November 2014 almost 16000 km was made, and car didn't leave Belgrade but once.


 ):
):


 .
.